
All Rights Reserved Performance Associates Coachworks & Customs 2014 Made With Serif WebPlus.X6
A TURBO REBUILD SHOULDN’T BE AS DAUNTING AS IT IS MADE OUT TO BE. FOLLOW MY STEPS AND YOU’LL BE ALRIGHT.
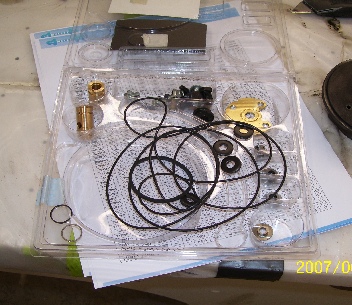
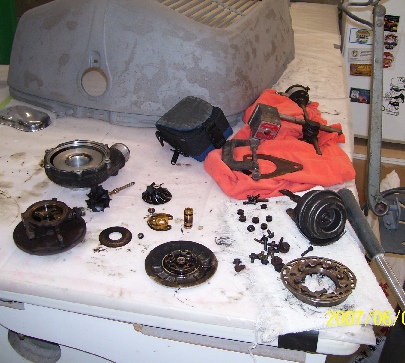
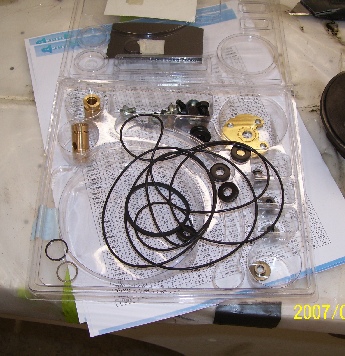
THE KITS ARE SOMEWHAT UNIVERSAL AND FIT SEVERAL DIFFERENT TURBOS. YOU WILL HAVE PARTS LEFT OVER.
YOUR FIRST STEP, BESIDES TAKING THE UNIT OFF, IS TO FIND OUT WHAT YOU ARE REBUILDING. HOPEFULLY YOU DID THIS BEFORE YOU BOUGHT THE KIT. WE BOUGHT OURS FROM http://gpopshop.com/rebuild-kits/
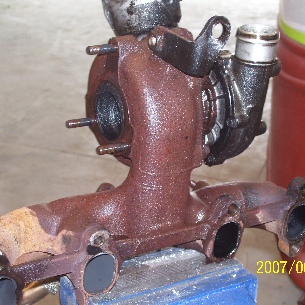
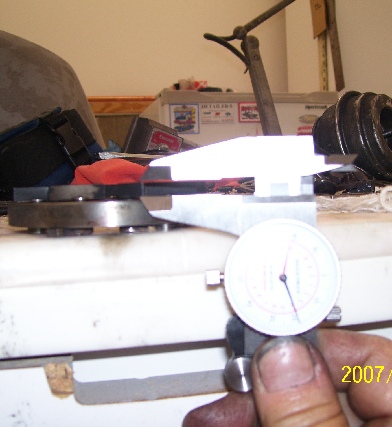
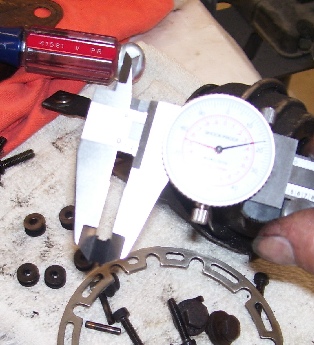
SECOND STEP WOULD BE; LET’S CHECK END PLAY AND SIDE PLAY OF THE TURBINE. IF THE TURBINE HITS THE SCROLL HOUSING, IT MAY BE JUNK. AND NOT REBUILD ABLE; .
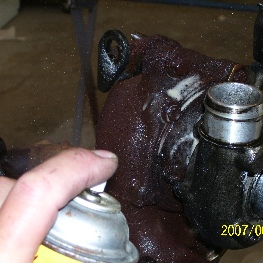
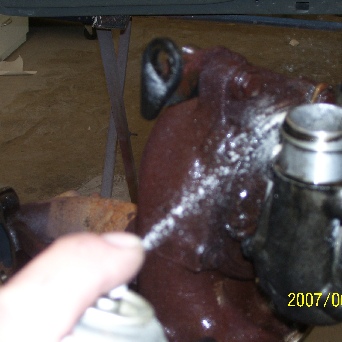
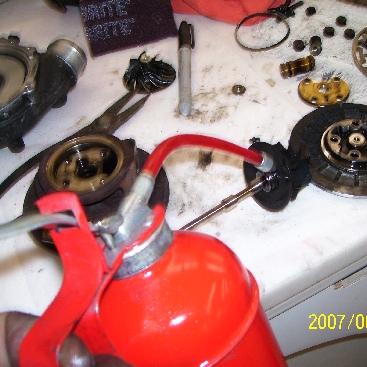
SPRAY IT DOWN REAL GOOD WITH A COAT OF RUST BUSTER. THE BOLTS ARE USUALLY RUSTED BY THE HEAT OF BATTLE ANT TIME. SO DON’T FORCE THE ISSUE. LET THE RUST BUSTER STUFF DO IT’S JOB. LET IT SOAK OVER NIGHT IF POSSIBLE.
AFTER SOAKING OVERNIGHT, OURS CAME OUT WITHOUT A HITCH. IF A BOLT IS TOO RUSTED IN, A LITTLE HEAT GOES A LONG WAY TO BREAKING THEM LOOSE. SOMETIMES A SHARP RAP STRAIGHT ON THE BOLT HEAD WITH A HAMMER WILL BREAK THE RUST BOND.
IF YOU HAPPEN TO TWIST ONE OFF, DRILLING IT OUT AND RETAP IS THE ANSWER. BE CAREFUL THAT YOU DO NOT DRILL THROUGH THE HOUSING OR BREAK OFF THE DRILL. TOTAL DISASTER.

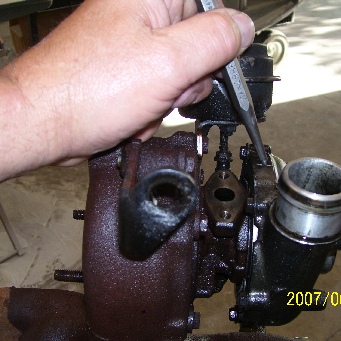
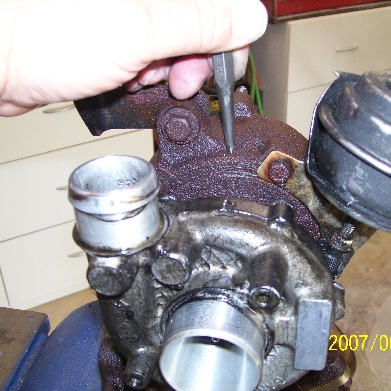
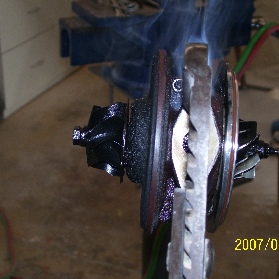
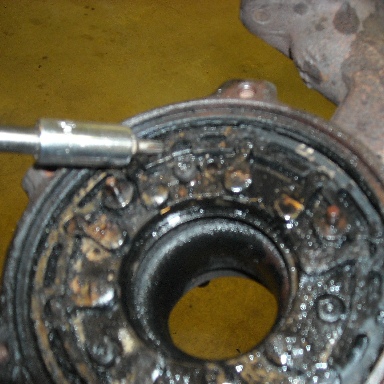
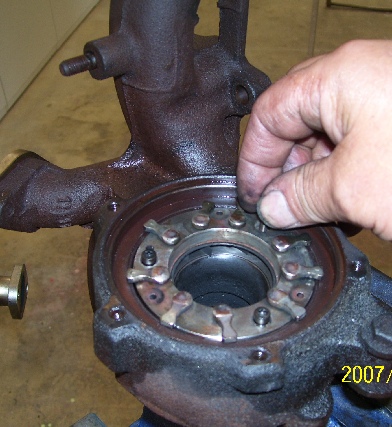
THERE IS A “C” CLIP THAT HOLDS THE SERVO LINKAGE IN PLACE. REMOVE IT.
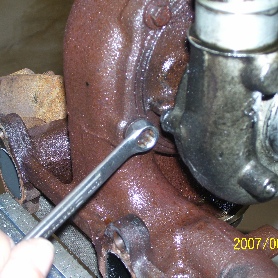
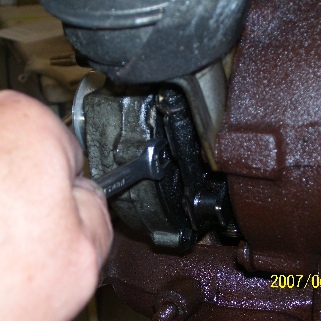
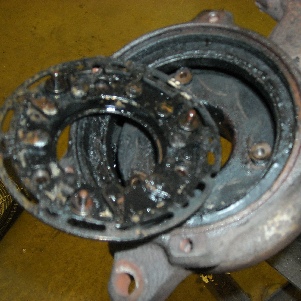
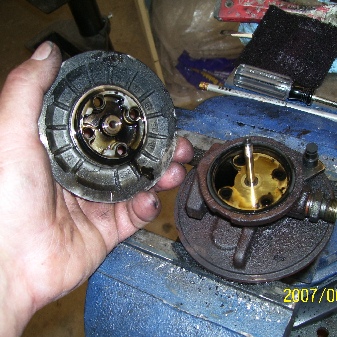
REMOVE THE BOLTS HOLDING THE COMPRESSOR SCROLL HOUSING IN PLACE.
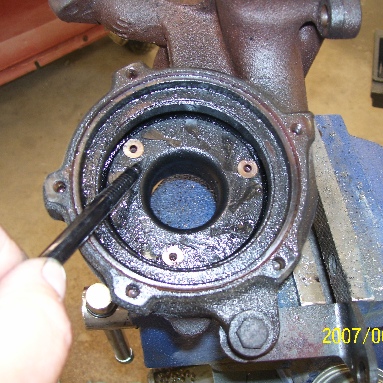
INDEX THE HOUSINGS AND THE BEARING HOUSING FOR REASSEMBLY.
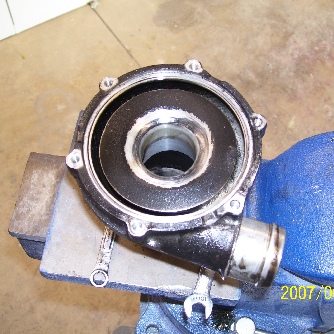
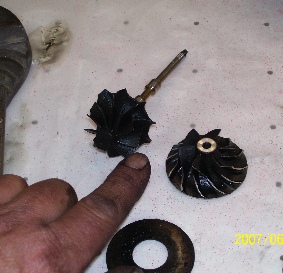
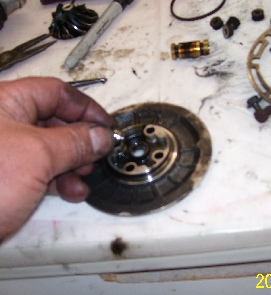
THE COMPRESSOR SCROLL COMES OFF EASILY. NOTE THE SHINY SPOTS ON THE HOUSE. THIS SHOWS THAT THE TURBINE ASSY WAS HITTING THE HOUSING.
YOU CAN SEE THE WEAR ON THE TURBINE VANES. THE WEAR HERE WAS VERY SMALL AND THERE WASN’T A ROLLED EDGE ON THE TURBINE. (ALL THESE PARTS ARE AVAILABLE) WE CKEANED UP THE EDGES WITH A DIAMOND JEWLERS FILE.


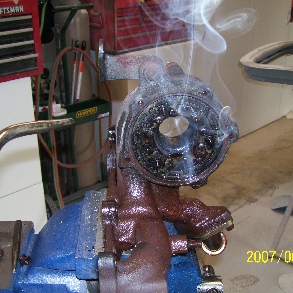
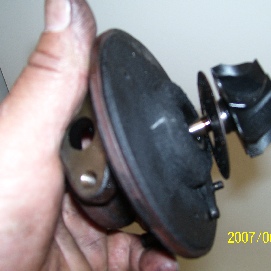
A LITTLE HEAT GOES A LONG WAY TO MAKING IT EASY TO SEPERATE THE EXHAUST SIDE FROM THE BEARING CARRIER.
DO NOT TWIST THE BEARING CARRIER IN THE EXHAUST SCROLL HOUSING!!!!!!!
THERE THREE PINS THAT CANNOT BE TWISTED.


TAKE A LARGE PAIR OF CHANNEL LOCK PLIERS AND GRIP THE CENTER OF THE BEARING SUPPORT, ACROSS THE OIL DRAIN PORT. AND USE A HAMMER TO TAP ON THE PLIERS TO BREAK LOOSE THE BEARING CARRIER FROM THE SCROLL HOUSING. DO NOT TWIST. DO NOT TWIST.
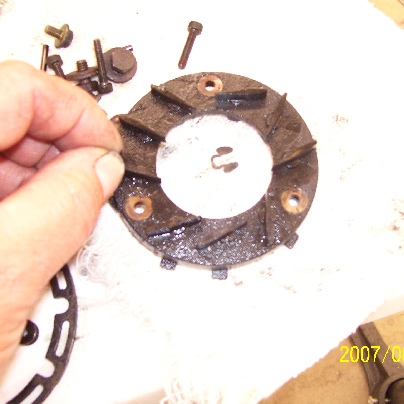
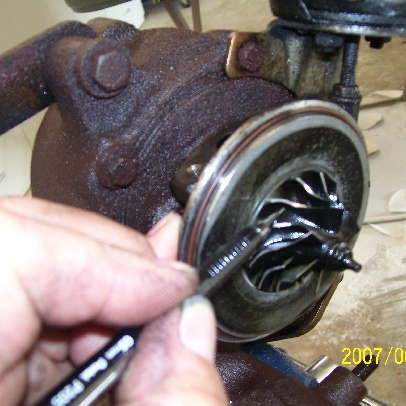
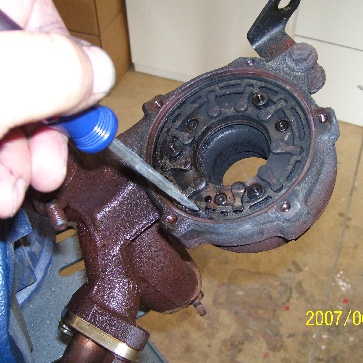
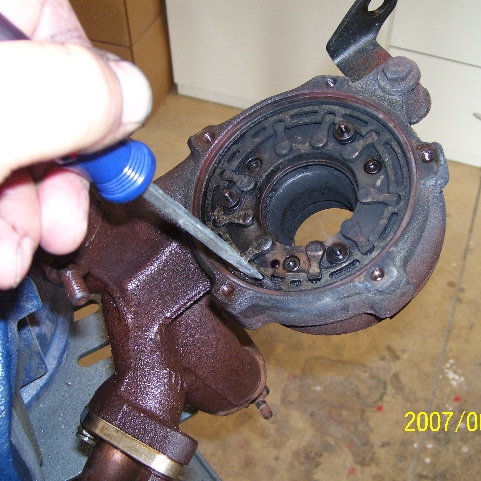
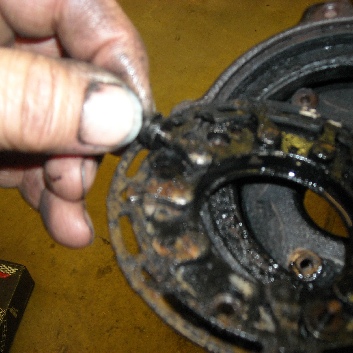
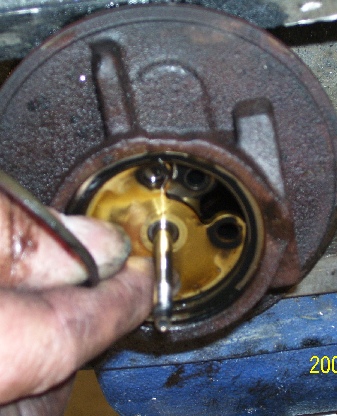
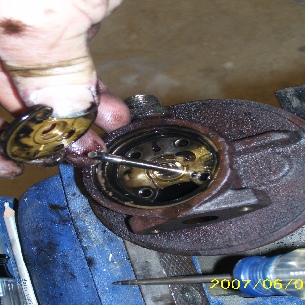
THE OUTER RING ROTATES AND MOVES THE VANES OF THE NOZZLE. THESE ARE FROZEN UP.
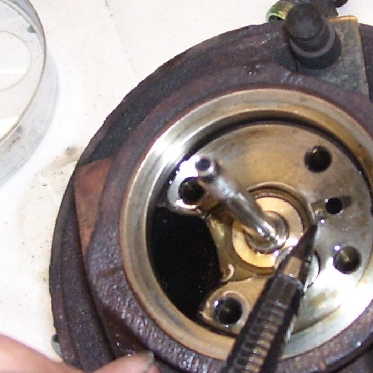
THERE ARE THREE TORX HEAD SCREWS HOLDING THE VANE UNIT IN PLACE. THERE ARE THREE ROLLERS AND PINS THAT GUIDE THE OUTER RING. NOTE THE INDEXING OF THE RING. LOOK CLOSE AT THE END OF THE SCREW DRIVER AND YOU CAN SEE THE U SHAPED NOTCH IN THE OUTER RING. THIS IS WHERE THE SERVO CAM FITS IN. I MARKED MINE. REMOVE THE SCREWS AND KEEP THE THREE ROLLERS AND PINS TOGETHER BECAUSE THERE IS ANOTHER THAT CAN BE MISTAKEN.


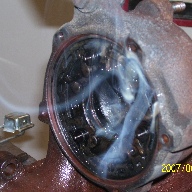
CARBON BUILDUP HAS LOCKED THE VANES IN PLACE. VANE MOVEMENT HAS BEEN VERY SMALL.
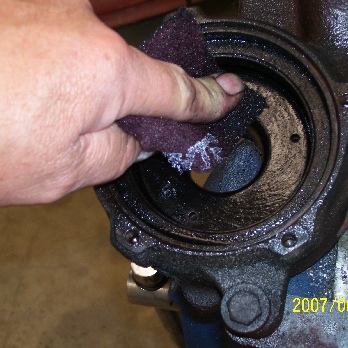
RED SCOTCH BRITE WORKS GREAT FOR CLEAN UP. CHECK FOR WEAR IN THE AREA THE VANES MOVE IN. EXCESS WEAR WILL LOCK THE VANES IN PLACE . WEAR HERE WILL REQUIRE A NEW MANIFOLD.
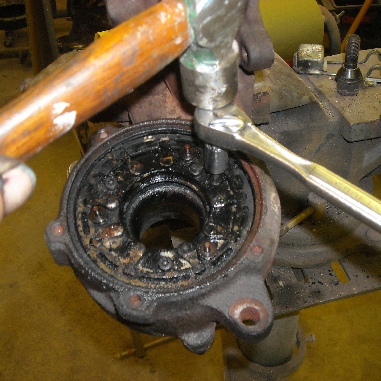
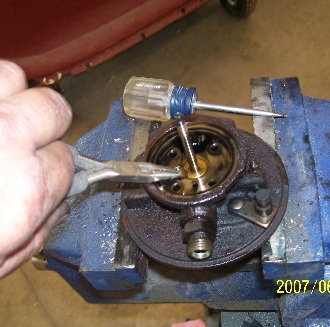
A SHARP RAP WITH A HAMMER WILL LOOSEN THE TORX SCREWS.
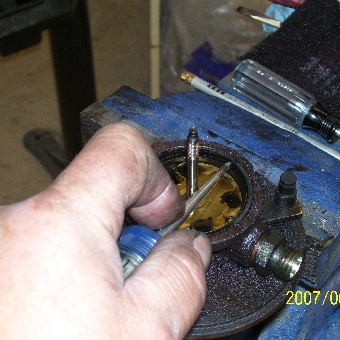

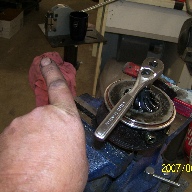
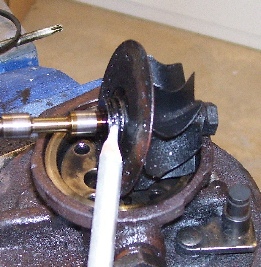
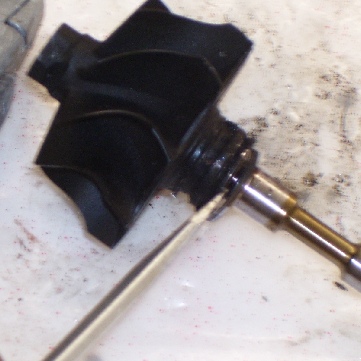
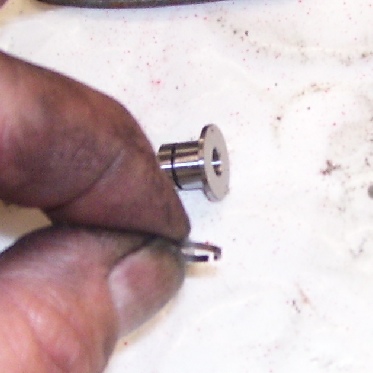
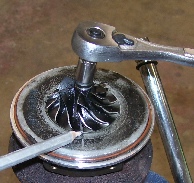
ONE END OF THE TURBINE HAS TWO FLATS. CLAMP THAT IN THE VISE. DON’T TRY TO USE A WRENCH.
USE A SOCKET ON THE NUT END, THIS IS A LEFT HANDED THREAD.
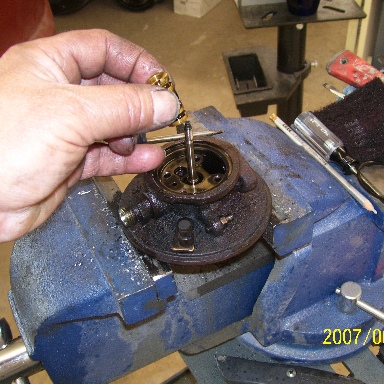
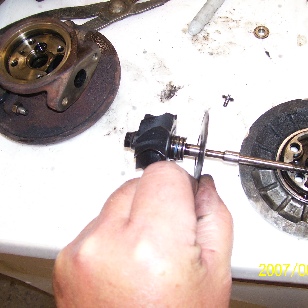
NOTE THE DIRECTION THE THUMB IS POINTING.

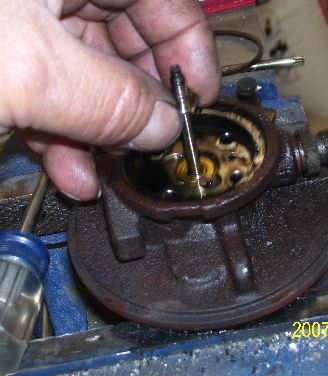
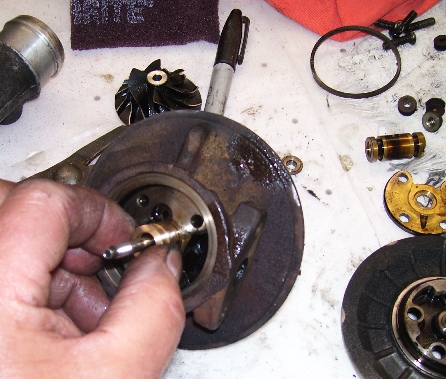
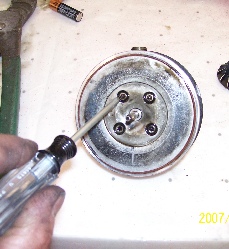
FOUR TORX SCREWS HOLD THE BEARING CARRIER IN PLACE. REMOVE THEM.
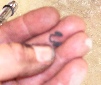
REMOVE THE O RING
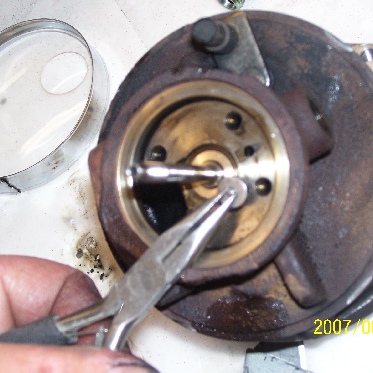
REMOVE THIS LOCKING PIN WITH NEEDLE NOSE PLIERS. THIS KEYS THE BEARING IN AND KEEPS IT FROM TURNING.
THE BEARING IS EASILY REMOVED NOW.
REMOVE THE THRUST PLATE. NOTE THE BIG GROOVE WORN IN THIS PLATE. IT’S NOT SUPPOSED TO BE THERE. THIS IS WHERE MY OIL LEAK WAS COMING FROM. THE OIL SAT IN THE BOTTOM OF THE INTER COOLER UNTIL I WAS MERGING WITH TRAFFIC AT FULL THROTTLE. THE OIL SUCKED INTO THE ENGINE AND THE THING WAS A WILDCAT FOR A FEW MOMENTS. PEOPLE BEHIND ME WERE PULLING OFF THE ROAD BECAUSE OF THE INTENSE SMOKE. THIS WAS OUT OF SIGHT UNTIL THEN, IT WENT OUT WITH A BANG. THREE RODS BENT.


REMOVE THE THRUST BEARING.

NOTICE WHICH WAY THIS HEAT SHIELD IS CUPPED.


CHECK THESE BEARING SURFACES. NO GROOVING ALLOWED.
SEAL
CHECK FOR WEAR.
The new seal slips right on. Watch which way the groove goes.
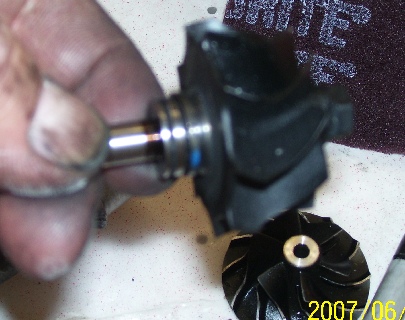
Remove the old seal. The utility knife blade edge is good for getting behind the seal and turbine and sliding the seal off.
The heat shield is next. Remember which way it was taken off.

Bearing goes in next. Note the crescent cutout for the lock pin. Align with the pin hole.
Drop the pin in.
This groove!!
Faces and aligns with this hole.


Thrust
Bearing.

Has larger
Thrust surface.


There is more than one seal included in the kit. Compare the new seal with the old one and put the cast seal ring in the groove
Don’t put the screws
In the brass bearing
Plate yet.
Seat the neoprene
Seal in place.
Sorry about the dirty plate.
This pic is when I took it apart but it shows where this seal goes.

Again, sorry about the dirty plate.
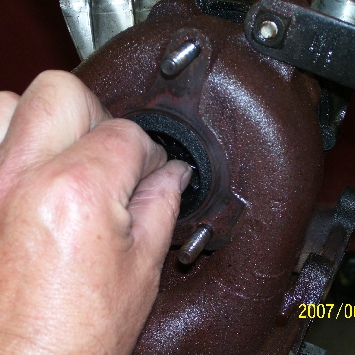
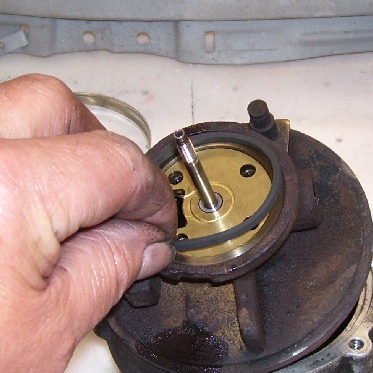
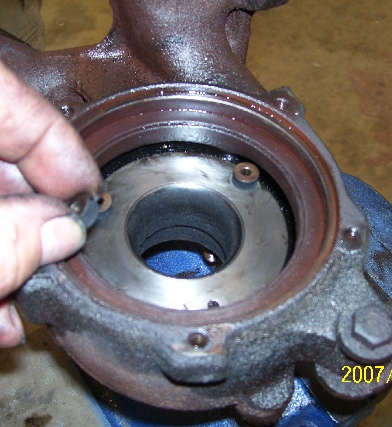
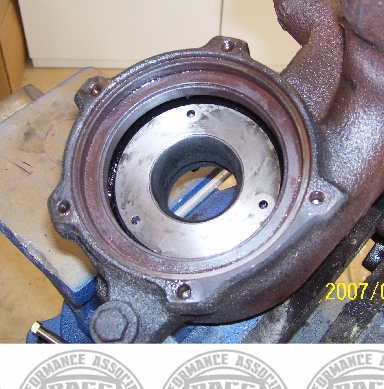
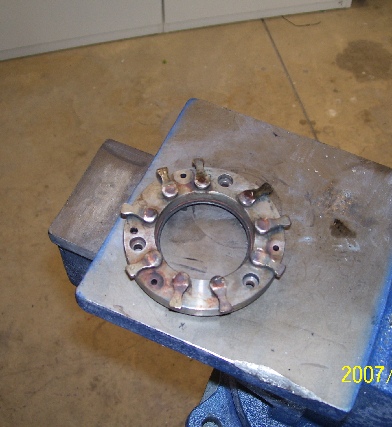
Mate this plate up to the housing. The holes are indexed to prevent you from error.
Put the torx screws in and tighten.
|
Socket head cap screw |
Grade 8.8 |
Grade 10.9 |
Grade 12.9 |
|
M4 x .70 |
1.65 |
|
3.3 |
|
M5 x .80 |
4.13 |
|
6.9 |
|
M6 x 1.0 |
7.1 |
11 |
11.6 |
|
M7 x 1.0 |
12 |
|
|
|
M8 x 1.0 |
18 |
|
|
Socket head cap screw Grade 8.8 Grade 10.9 Grade 12.9
M4 x .70 1.65 3.3
M5 x .80 4.13 6.9
M6 x 1.0 7.1 11 11.6
M7 x 1.0 12
M8 x 1.0 18
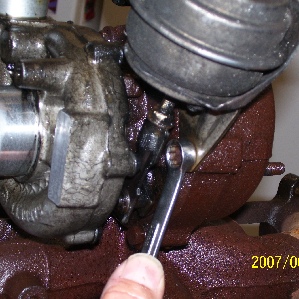
Clamp the turbine in the vice and add the compressor. Tighten the nut to the above torque specs.
The picture was taken during disassembly. Disregard the pencil and the dirt please. Install a new seal ring .

Slip the compressor housing over the wheel and align the index marks . Use the new bolts and tighten them to the proper torque. Use a universal socket. The turbo wheel should turn freely.
Clamp the exhaust manifold back in the vice.

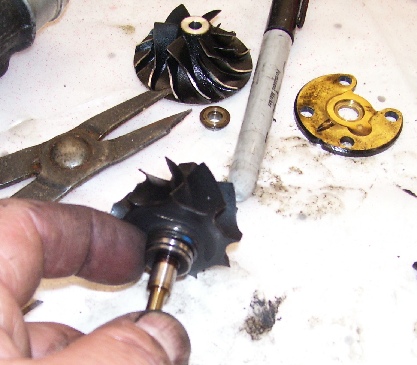
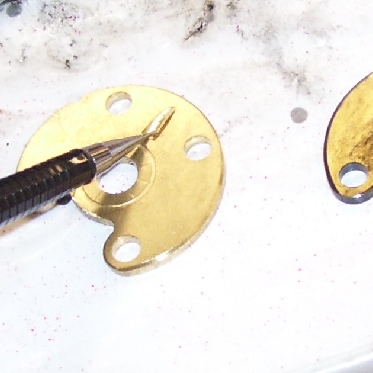
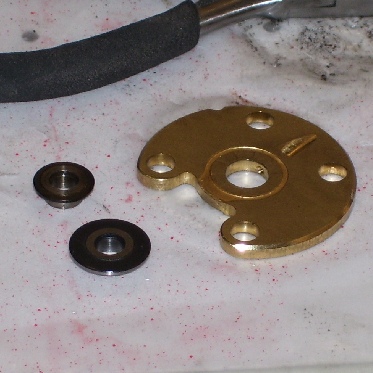
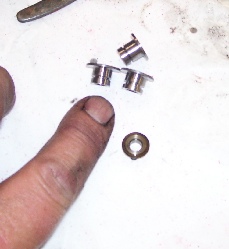
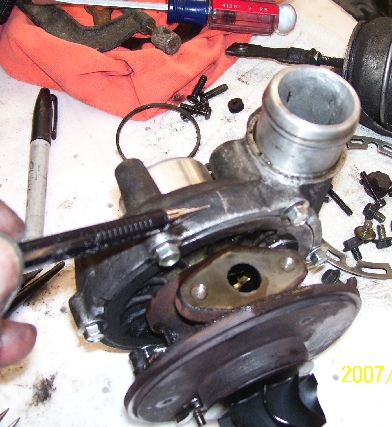
When we disassembled the turbo, it was mentioned to keep these parts separate from one another. There are two thickness and they look alike. One set are the roller guides and the other set are spacers. NOTE the green arrow. The ones we want now are about the same thickness as the vanes.

89b